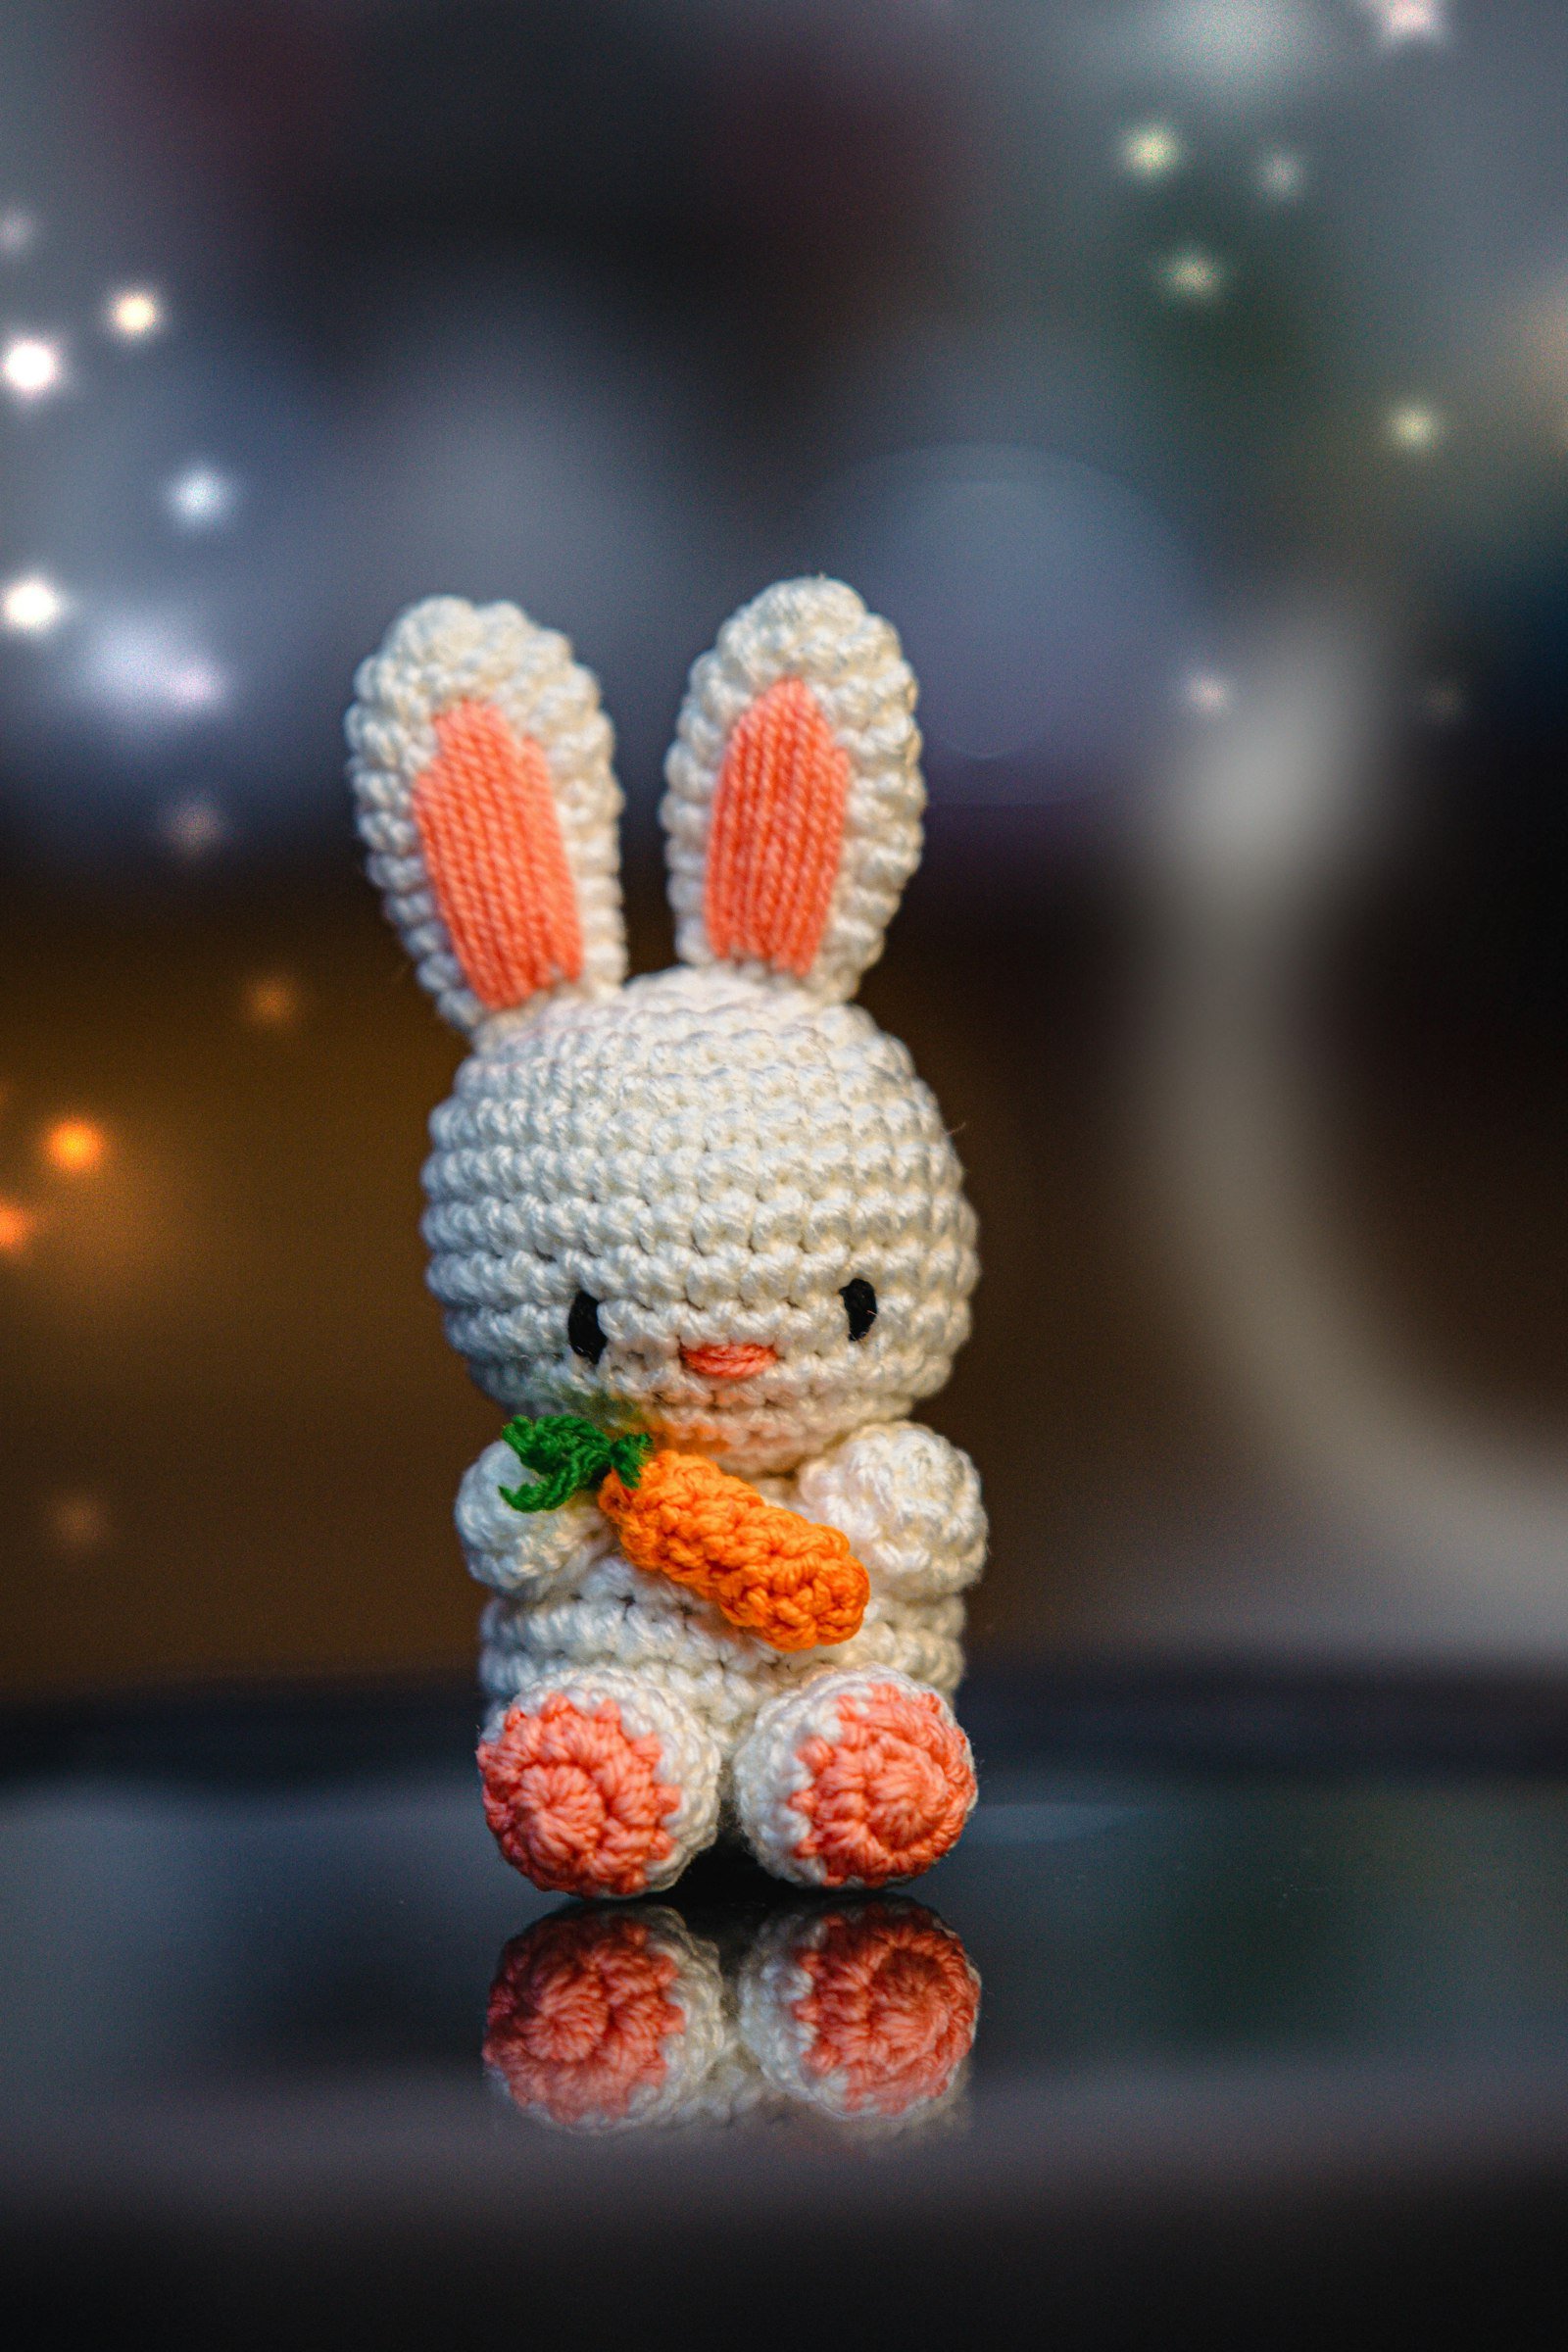
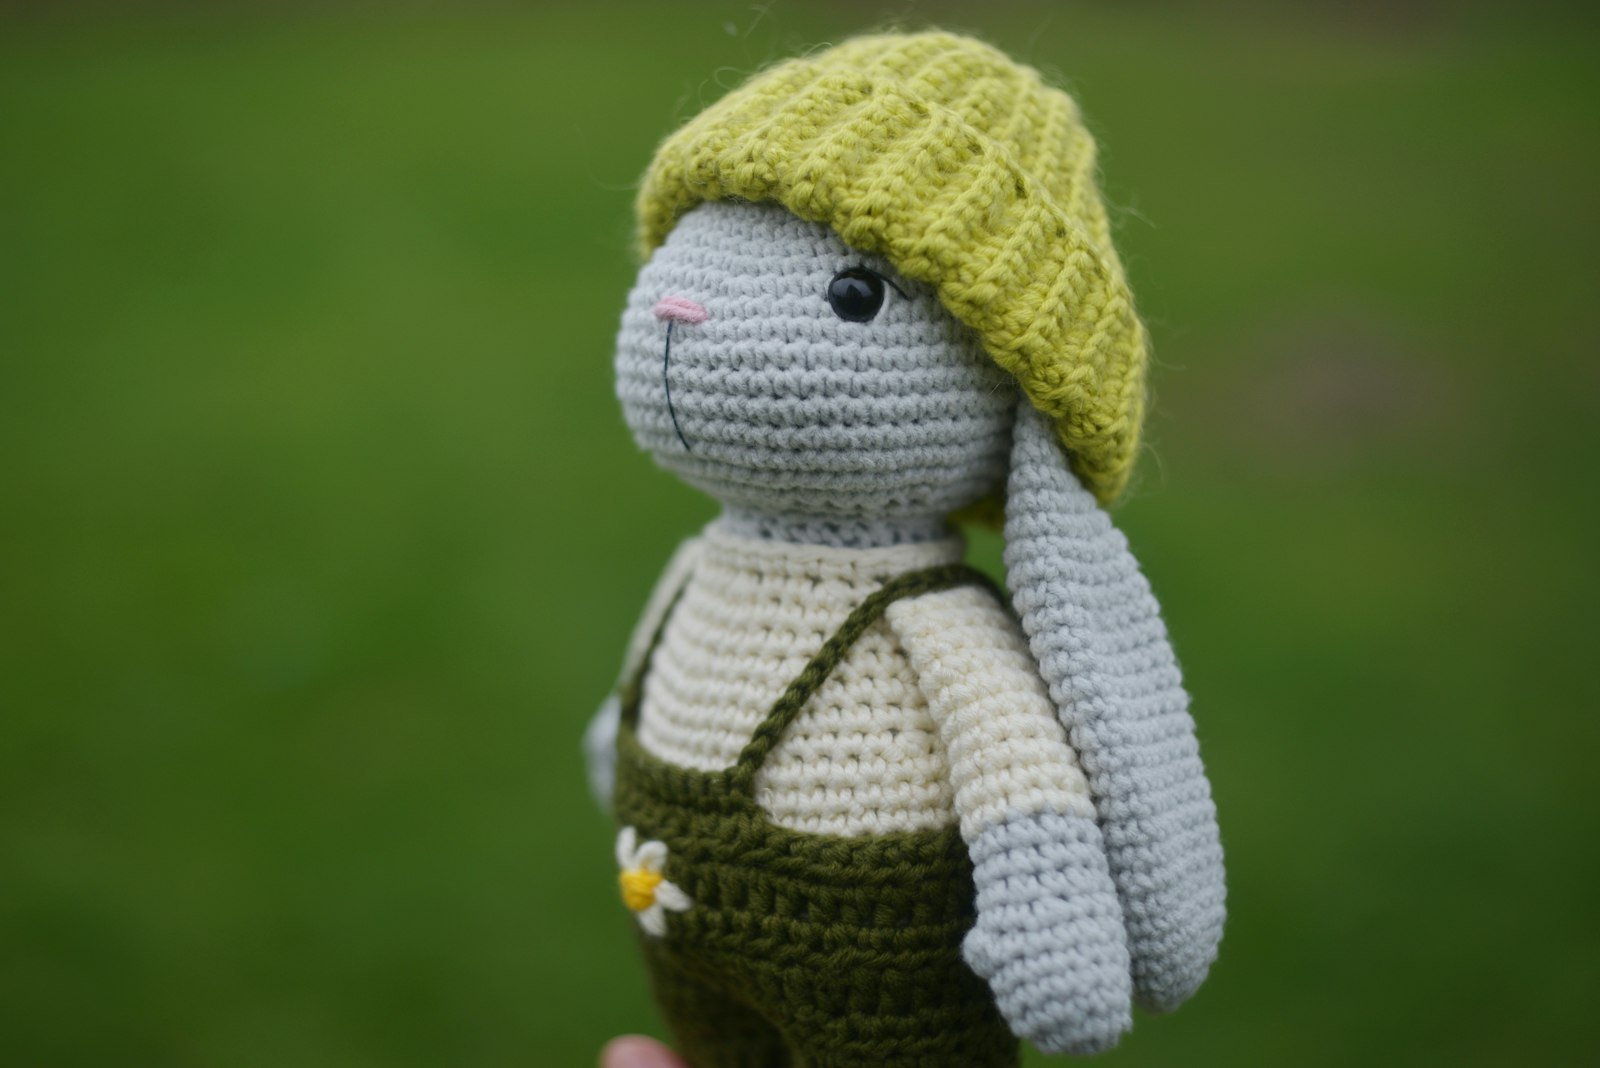
Almost every amigurumi starts the same way: with a magic ring. Unlike starting with a chain loop, a magic ring can be pulled completely closed, so the top of your bunny’s head has no gap.
What you need
- Smooth worsted or DK yarn in a light colour
- A hook 0.5 to 1 mm smaller than the yarn label suggests
- A stitch marker
Step by step
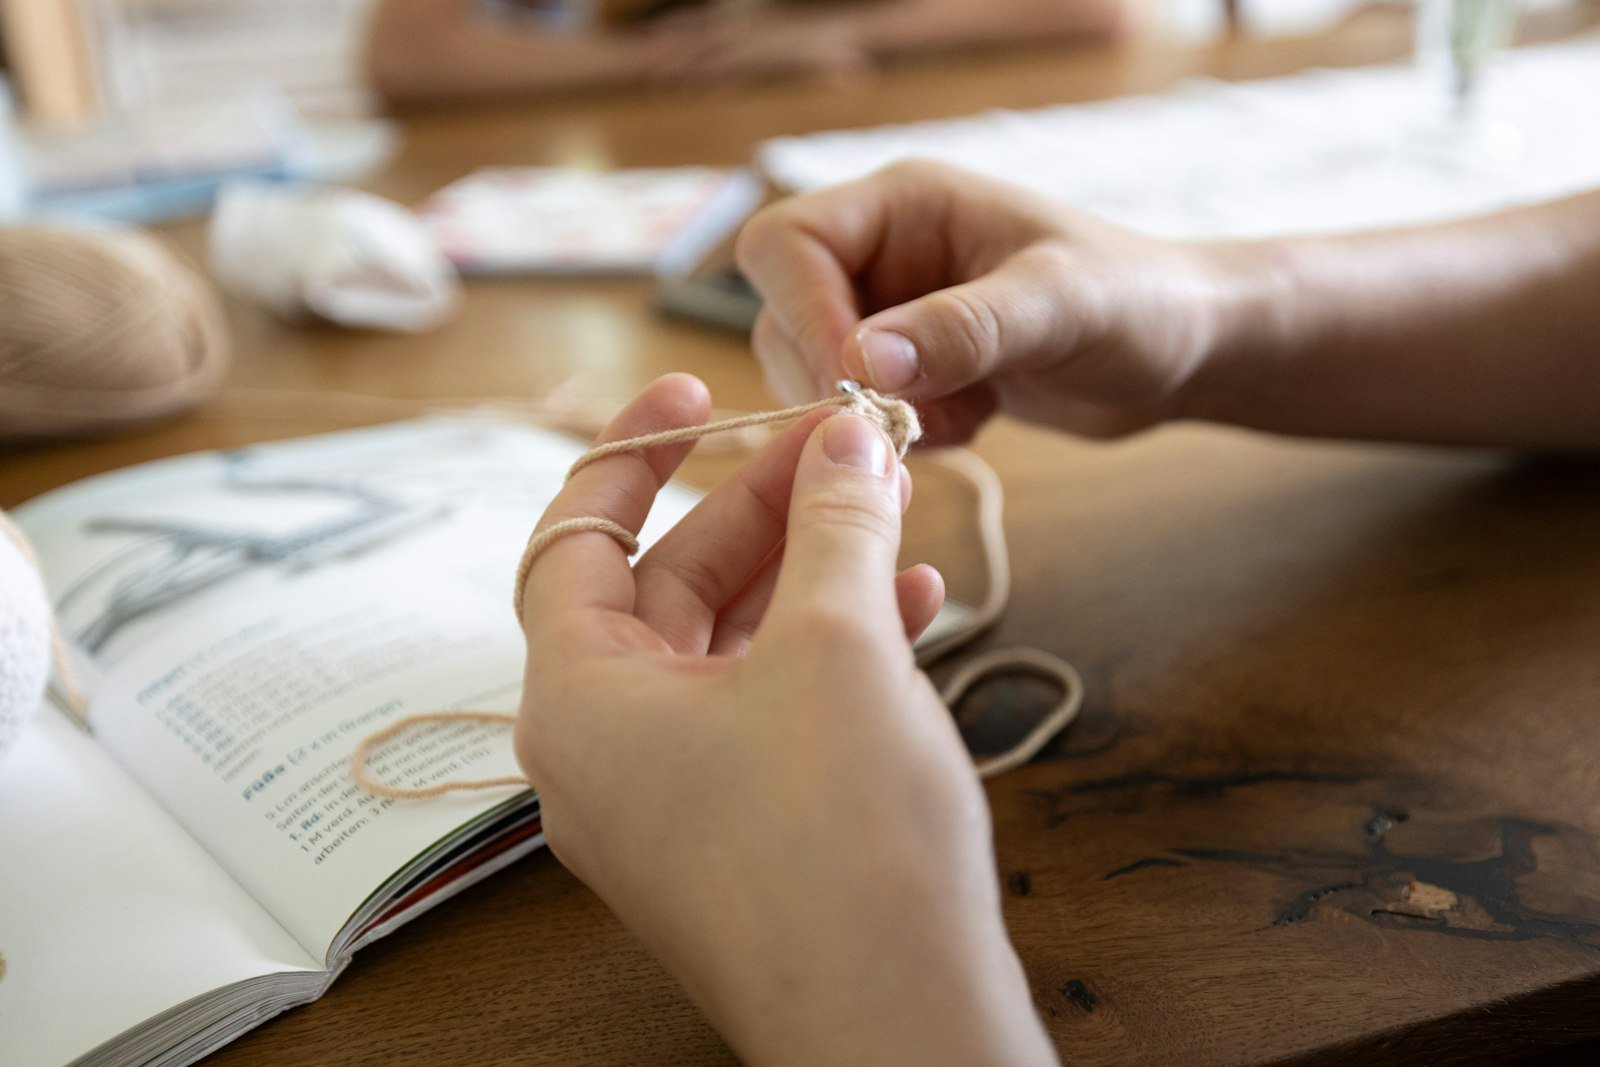
- Lay the yarn tail over your fingers and wrap the working yarn around them to make a loop, crossing the yarn over itself.
- Insert your hook under both strands of the loop, yarn over and pull up a loop.
- Chain 1. This chain does not count as a stitch; it just secures the ring.
- Work single crochets into the ring, going under both the ring and the tail each time. For most amigurumi you will work 6.
- Pull the tail firmly. The ring closes up like a drawstring bag.
- Place a stitch marker in the first sc, then keep working in a spiral without joining.
Granny’s tip: Do not cut the tail short. Weave it back and forth a few times after round 2 so the ring can never open up again.
The first rounds of a flat circle
Amigurumi spheres start with a flat circle that grows by 6 stitches each round. Here are the first four rounds:
- Rnd 1: 6 sc in magic ring. (6)
- Rnd 2: inc in each st around. (12)
- Rnd 3: *sc 1, inc; rep from * around. (18)
- Rnd 4: *sc 2, inc; rep from * around. (24)
See the pattern? Each round adds one extra plain stitch before the increase. Keep going this way and you can make a circle of any size.

Leave a Reply