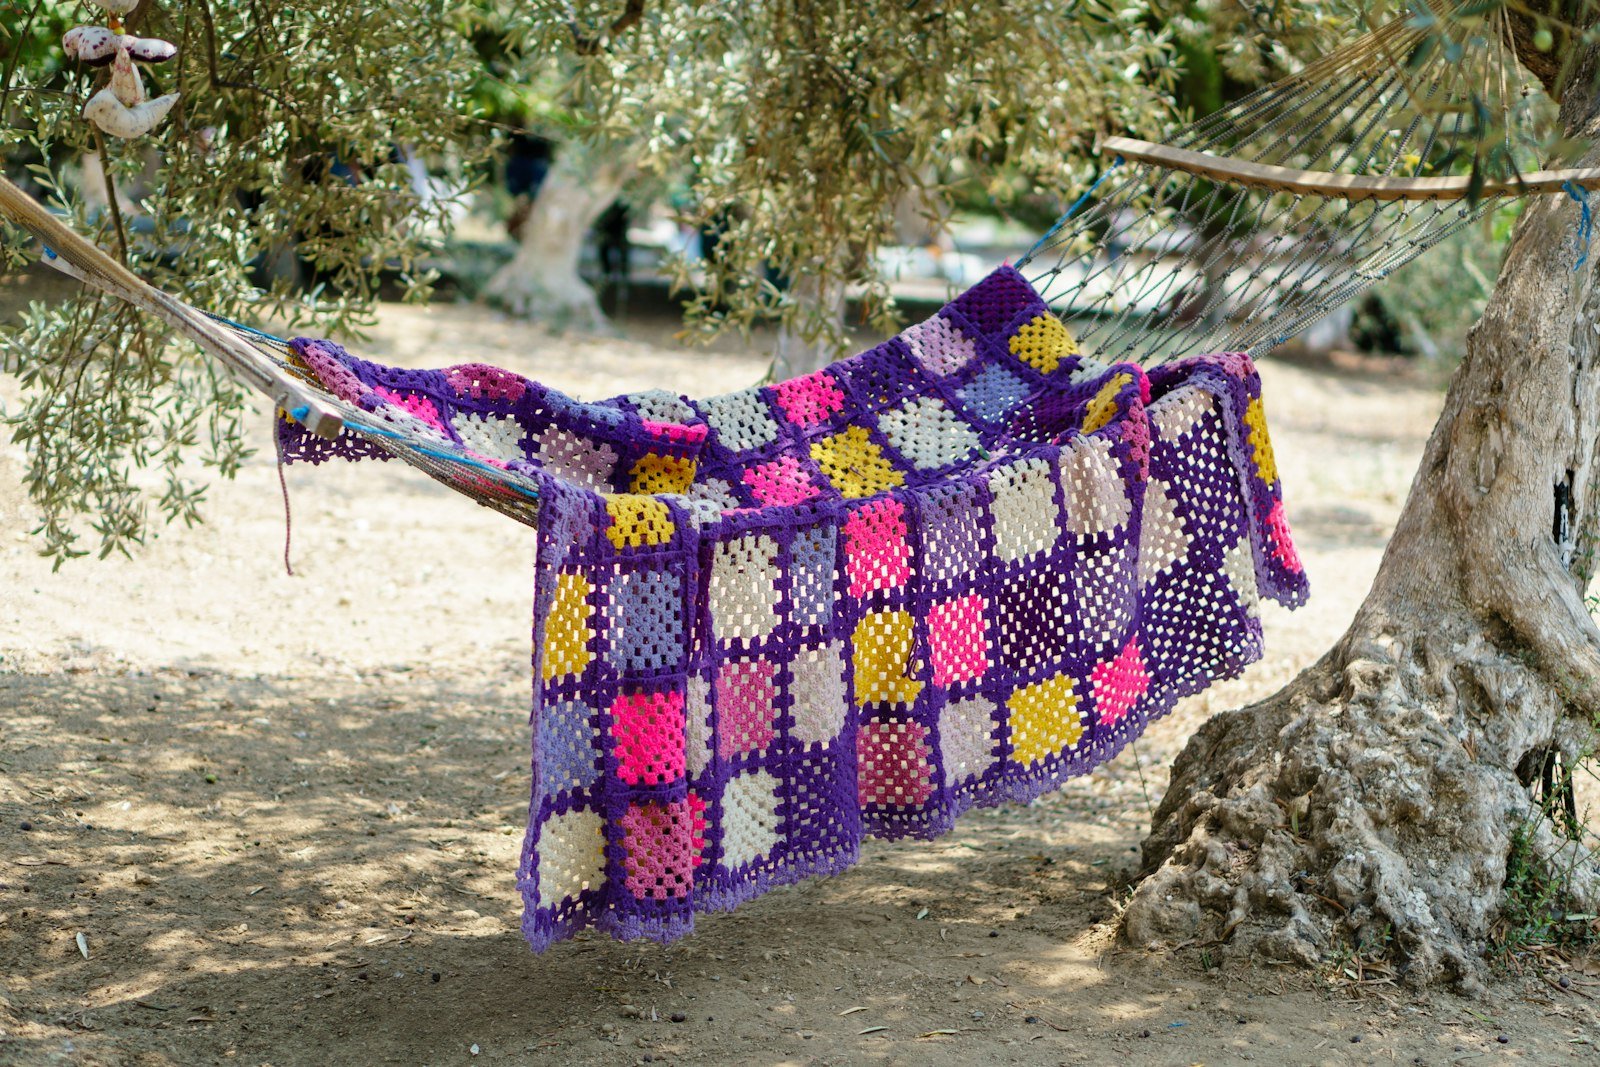
A granny square blanket is the dream project of so many crocheters, and it is easier than it looks: you make one small square at a time, wherever you are, then join them together at the end.
How many squares do you need?
Measure one finished square, then divide your blanket size by it. Here are some common blanket sizes with 5-inch (about 13 cm) squares:
| Blanket | Approx. size | Squares (5 in) |
|---|---|---|
| Baby / stroller | 30 × 35 in | 6 × 7 = 42 |
| Lap blanket | 40 × 50 in | 8 × 10 = 80 |
| Throw | 50 × 60 in | 10 × 12 = 120 |
| Twin bed | 65 × 90 in | 13 × 18 = 234 |
Granny’s tip: Crochet one square, wash and dry it, then measure. Some yarns grow or shrink after washing, and it is much better to find out before you make 120 squares!
Layout ideas
- Scrappy: every square different, joined with one neutral colour (cream or white) to tie it all together.
- Checkerboard: two colourways alternating.
- Ombre: arrange squares from light to dark, corner to corner.
- Rainbow stripes: each row of squares in one colour family.
- Big centre: one giant granny square in the middle, framed by small ones.
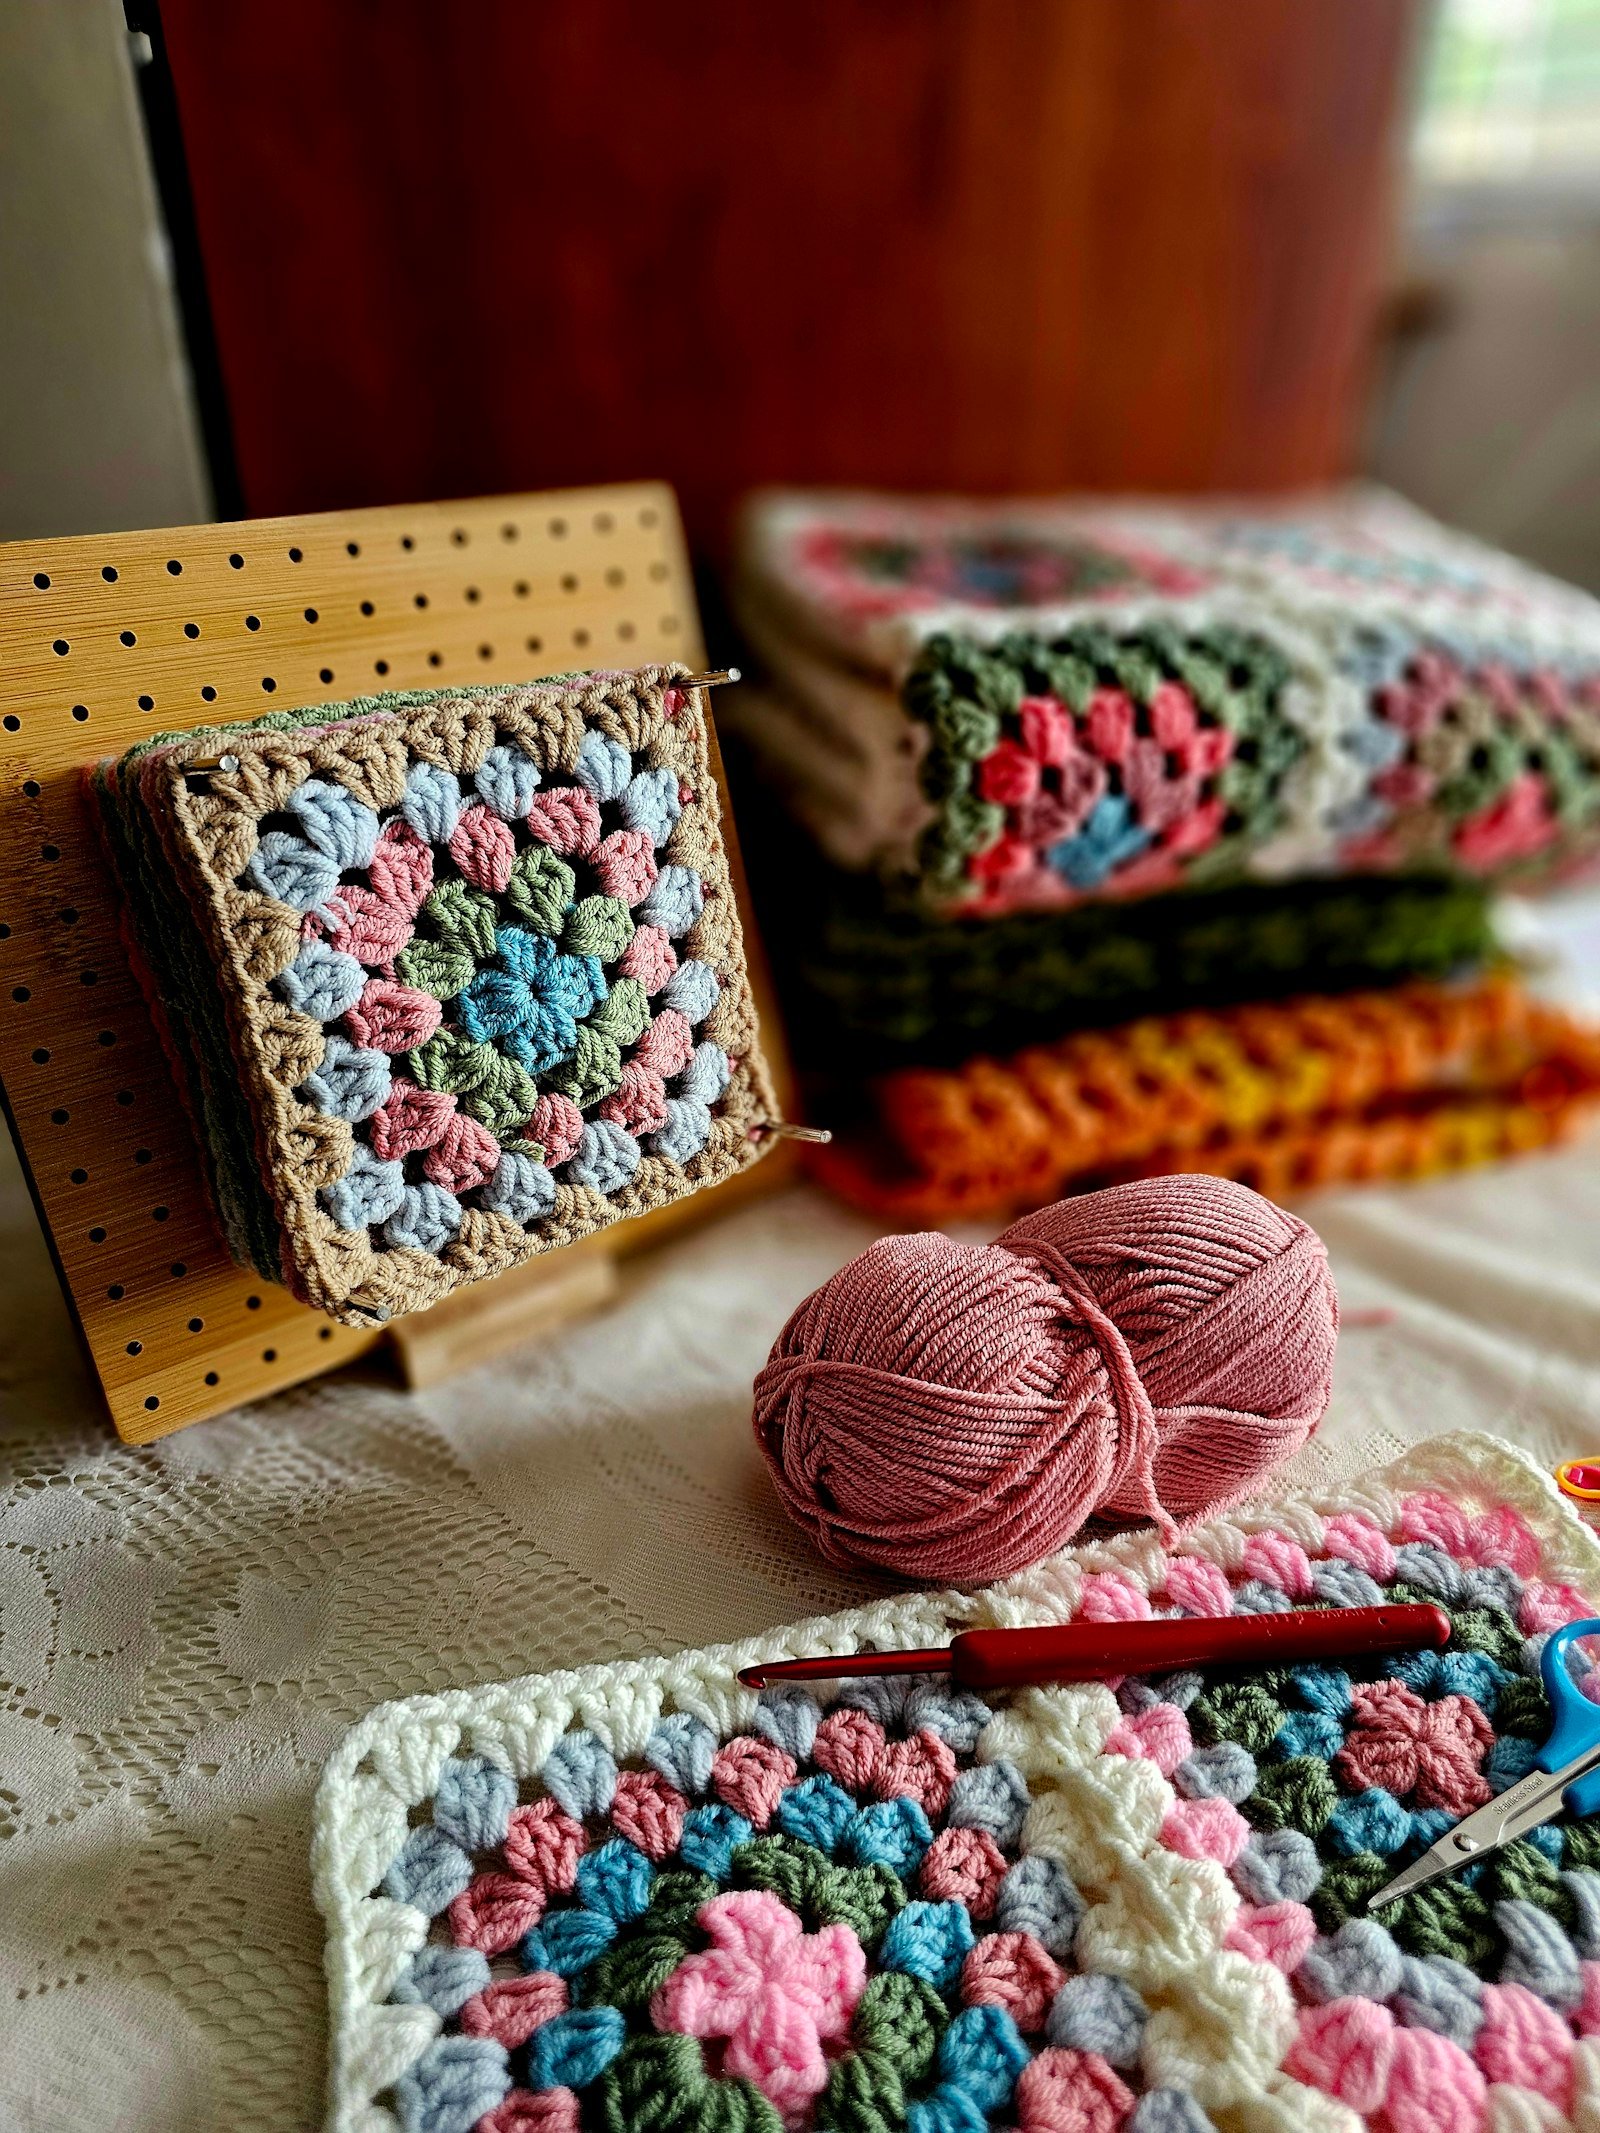
Joining your squares
The two most popular methods are whip stitching with a yarn needle (nearly invisible) and the slip stitch join through the back loops (creates a pretty raised ridge). Join-as-you-go methods let you attach each square during its last round, so there is no big sewing session at the end.
Finishing with a border
A few rounds of single or double crochet all around makes the blanket look polished and hides any uneven edges. Work 3 stitches in each corner to keep it flat.
Leave a Reply